
How To Set Up Google Search Console Step By Step
There are very few tools in the world of digital marketing that are both completely free and genuinely indispensable, but Google Search Console is one of them. If you are serious about growing your we...
There are very few tools in the world of digital marketing that are both completely free and genuinely indispensable, but Google Search Console is one of them. If you are serious about growing your website's presence in Google's search results, then understanding how to set up Google Search Console step by step is not optional, it is fundamental. Without it, you are essentially flying blind, making decisions about your content, your technical health and your search performance without any of the data that actually matters. This guide will walk you through the entire setup process clearly and thoroughly, so that by the end of it, you have a fully verified and configured account ready to start feeding you the insights you need.
What Google Search Console Actually Does For You
Before diving into the setup process itself, it is worth taking a moment to understand what you are actually getting access to. Google Search Console is a free platform provided by Google that connects directly to your website and allows you to monitor how it performs in organic search. You can see which search queries are driving impressions and clicks, identify technical errors that might be holding your pages back, submit sitemaps, review your backlink profile, and receive notifications when Google identifies a problem with your site.
For anyone trying to rank on Google, having access to data that comes directly from Google is an enormous advantage. It tells you exactly how the search engine sees your site, which is information that no third-party tool can fully replicate. If you have not yet set it up, now is absolutely the right time to do so.
Creating Your Google Search Console Account
The first step is straightforward. Head over to search.google.com/search-console and sign in using a Google account. Ideally, this should be a Google account that you own and control long-term, or in the case of a business, one that is tied to the organisation rather than a personal email address that could one day lose access. Many people overlook this and later find themselves locked out of data they have been collecting for years.
Once you are signed in, you will be prompted to add a property. This is the term Google uses for a website or URL that you want to monitor. You will be given two options at this stage, and choosing the right one matters.
Choosing Between Domain and URL Prefix
Google Search Console offers two property types when you add a new site. The first is the Domain property, and the second is the URL Prefix property. Understanding the difference between them will save you a great deal of confusion later on.
The Domain property covers all versions of your website across every protocol and subdomain. That means whether someone visits your site via http, https, www or non-www, all of that data is captured under a single property. This is the more comprehensive option and the one that most website owners should choose. The only caveat is that it requires DNS verification, which means you need access to your domain registrar to complete the setup.
The URL Prefix property, on the other hand, only tracks data for the exact URL you enter. So if you type in https://www.yourwebsite.co.uk, it will only gather data for that specific version of your site. If traffic also comes through http://yourwebsite.co.uk, that data would sit in a separate property. This option does offer more verification methods, which can be useful if DNS access is not available to you at the time of setup.
For most website owners, the Domain property is the right choice. Enter your domain name without any prefix, such as yourwebsite.co.uk, and proceed to verification.
Want more insights like this?
Join thousands of marketers getting weekly tips and strategies.
Verifying Your Website Ownership
Verification is the process by which Google confirms that you actually own or have authority over the website you are trying to add. Without completing this step, you will not have access to any data. There are several methods available, and the one you choose will largely depend on how your website is built and what access you have.
DNS Record Verification
If you have selected the Domain property type, DNS verification is the required method. Google will provide you with a TXT record that you need to add to your domain's DNS settings. Log in to your domain registrar, whether that is GoDaddy, Namecheap, 123 Reg or wherever you purchased your domain, and navigate to the DNS management area. Add a new TXT record, paste in the value provided by Google, save the changes and then return to Search Console and click verify. DNS changes can sometimes take a few minutes to propagate, so if verification does not succeed immediately, wait a short while and try again.
HTML File Upload
For the URL Prefix property type, one of the simplest verification methods is uploading an HTML file to your website's root directory. Google provides the file for you to download, and you simply upload it via your hosting control panel or FTP client. Once uploaded, Google can access it at a specific URL and confirm ownership. This method works well for those who have direct access to their website's file structure.
HTML Meta Tag
Another popular method for URL Prefix properties is adding a meta tag to the head section of your website's homepage. Google provides a unique snippet of code that you paste into your site's HTML. If you are using a platform like WordPress, a plugin such as Yoast SEO or Rank Math makes this particularly easy, as both platforms include a dedicated field for Google Search Console verification codes within their settings.
Google Analytics or Google Tag Manager
If you already have Google Analytics or Google Tag Manager connected to your website under the same Google account, you can use either of these to verify ownership in Search Console. This is often the fastest route for those who have already set up other Google tools, and it avoids the need to touch any code or DNS settings directly.
Submitting Your Sitemap
Once your property is verified and you have access to your Search Console dashboard, one of the first things you should do is submit your sitemap. A sitemap is a file, typically in XML format, that lists all of the pages on your website and provides Google with a clear map of your content structure. Submitting it through Search Console does not guarantee instant indexing, but it does help Google discover your pages more efficiently, particularly for newer websites or those with large volumes of content.
In the left-hand navigation of Google Search Console, click on Sitemaps under the Index section. Enter the URL of your sitemap, which for most websites will be something like yourwebsite.co.uk/sitemap.xml or yourwebsite.co.uk/sitemap_index.xml. If you are using WordPress with Yoast SEO or Rank Math, your sitemap will have been generated automatically. Click Submit and Google will begin processing it. You can revisit this section at any time to check for errors or see how many pages have been successfully indexed from your sitemap.
Adding Additional Users and Setting Permissions
If you are managing a website as part of a team or working with an agency, Google Search Console allows you to grant access to additional users without sharing your Google account credentials. Under the Settings section of your property, you will find Users and Permissions. From here you can add other Google accounts with either Owner, Full User or Restricted User permissions, depending on the level of access each person needs.
This is a step that many website owners skip during the initial setup and later regret, particularly when bringing in an SEO consultant or developer who needs to review the data. Getting this right from the beginning means your team can collaborate effectively without any access issues down the line.
Understanding the Key Sections of the Dashboard
With your property verified, your sitemap submitted and your users configured, it is worth familiarising yourself with the core sections of the Search Console dashboard so you know where to look for the information that matters most.
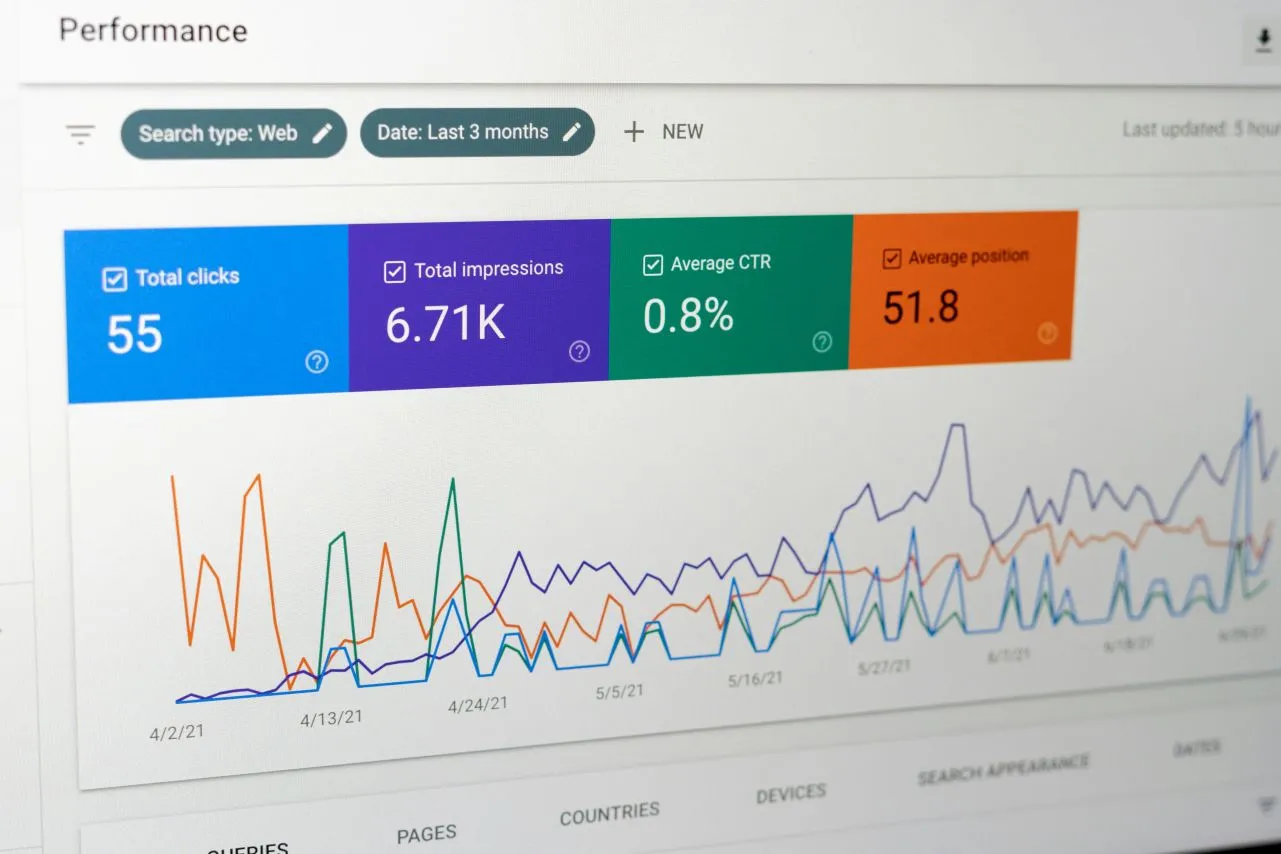
The Performance report is where you will spend a great deal of your time. It shows you the total clicks, impressions, average click-through rate and average position for your website in Google Search. You can filter by query, page, country, device and date range, which makes it an incredibly powerful tool for understanding what is and is not working within your organic search strategy.
The Coverage report, found under the Index section, shows you which pages Google has successfully indexed and which have encountered errors or warnings. This is critical for identifying technical issues that might be preventing your content from appearing in search results. Common issues flagged here include pages with a noindex tag applied incorrectly, redirect errors and pages that have been discovered but not yet crawled.
The Core Web Vitals report gives you an overview of your site's page experience signals, which Google uses as part of its ranking considerations. If pages are flagged as poor or needing improvement here, that is useful information to pass to your developer.
The Links report shows both your external backlinks and your internal link structure, giving you a view of how your site is connected both from the outside world and within itself.
Getting the Most From Google Search Console Going Forward
Setting up Google Search Console is just the beginning. The real value comes from checking in on it regularly, acting on the data it provides and using the insights to inform your broader SEO and content strategy. Make it a habit to review your Performance report at least once a week, monitor your Coverage report for any new errors, and keep an eye on the email notifications that Google sends when it identifies a significant issue with your site.
It is also worth connecting your Search Console property to your Google Analytics account if you have not already done so. This allows you to view organic search data alongside your broader website analytics, giving you a more complete picture of how your audience is finding and engaging with your content.
Learning how to set up Google Search Console step by step is one of the most valuable things you can do for your website. It costs nothing, it provides data that is impossible to get anywhere else, and it connects you directly to the way Google sees your site. Once it is in place and working correctly, you will wonder how you ever made decisions about your website without it.
Ian
Ian has worked in Digital Marketing for decades, and is a Google Partner for Google Ads and an expert in onsite and technical SEO. He has worked with hundreds of clients, helping them achieve success online, through SEO, PPC and Digital Marketing, working with local businesses through to national retailers.
View all posts →Related Articles

Our Complete Guide To Improving Your Google My Business Profile
In the world of local business marketing, your Google My Business profile isn't just another online listing, it's your digital shopfront that can make or break a potential customer's first impression.

Wordpress Websites Vs AI Websites
The decision between building a traditional WordPress website or embracing the new wave of AI-powered website builders has become one of the most significant choices facing businesses today. With Word...

What Is SEO And How Does It Work?
If you've ever wondered why some websites appear at the top of Google whilst others seem to vanish into the digital wilderness, you're asking the right question.